Halloween · Makeup tutorial
Easy Zombie Makeup in 8 Steps
Quick answerFor easy zombie makeup, give your skin a pale grey-green tint, darken the eye sockets and hollows of the cheeks with purple-brown shadow, add red around the eyes, dab on bruises in purple and yellow, build a simple wound from tissue and liquid latex or lash glue, then finish with fake blood and messy hair. It takes about 30–45 minutes.

What you need
| Item | Use | Everyday alternative |
|---|---|---|
| Green and grey cream face paint | Dead-looking skin tone | Pale foundation with green-grey eyeshadow pressed on top |
| Purple, brown and grey matte shadow | Sunken eyes, hollow cheeks | Any dark matte palette |
| Red and yellow shadow | Tired eyes, bruise edges | Red lipstick blended thin; yellow from a concealer palette |
| Liquid latex or lash glue + tissue | Raised wound | Skip it and paint a flat scratch with red and purple |
| Fake blood | Wet blood | Red lip gloss for small shiny spots |
| Torn makeup sponge | Bruise and skin texture | A clean, coarse kitchen sponge used only for this |
Skin safety. Use cosmetic products made for skin and patch-test latex, glue and fake blood a day before. Keep everything out of the eyes. If you are painting a child, keep it simple and skip glue and latex.
Zombie makeup, step by step
- Prep and patch-testCleanse and moisturize. If you plan to use liquid latex or lash glue, test it on your inner arm the day before; skip latex if you have a latex allergy.
- Make the skin dead-lookingSponge on a pale foundation, then tap on a thin layer of grey or green cream paint (or green-grey eyeshadow) so the color is patchy, not even.
- Sink the eyesBlend purple-brown shadow all around the eyes, well beyond the lids and under-eye area, so the eye sockets look hollow.
- Hollow the cheeks and templesSuck in your cheeks and brush the same shadow in the hollows, at the temples and under the jaw. Blend the edges.
- Add red, tired eyesPress red shadow along the lower lash line and inner corners. Keep products outside the waterline.
- Dab on bruises and veinsWith a torn sponge, stipple purple, then a little yellow at the edges, on the forehead, jaw or neck. Draw a few faint, branching veins with a purple pencil.
- Build a simple woundPaint a thin layer of liquid latex or lash glue on the cheek, press on a torn piece of tissue, add another layer and let it dry. Tear an opening in the middle, color the edges with skin-tone and purple, and fill the center with dark red.
- Blood, hair and setAdd fake blood to the wound and one corner of the mouth, tease your hair, rub a little brown shadow on your clothes as dirt, and finish with setting spray.
Easy variations
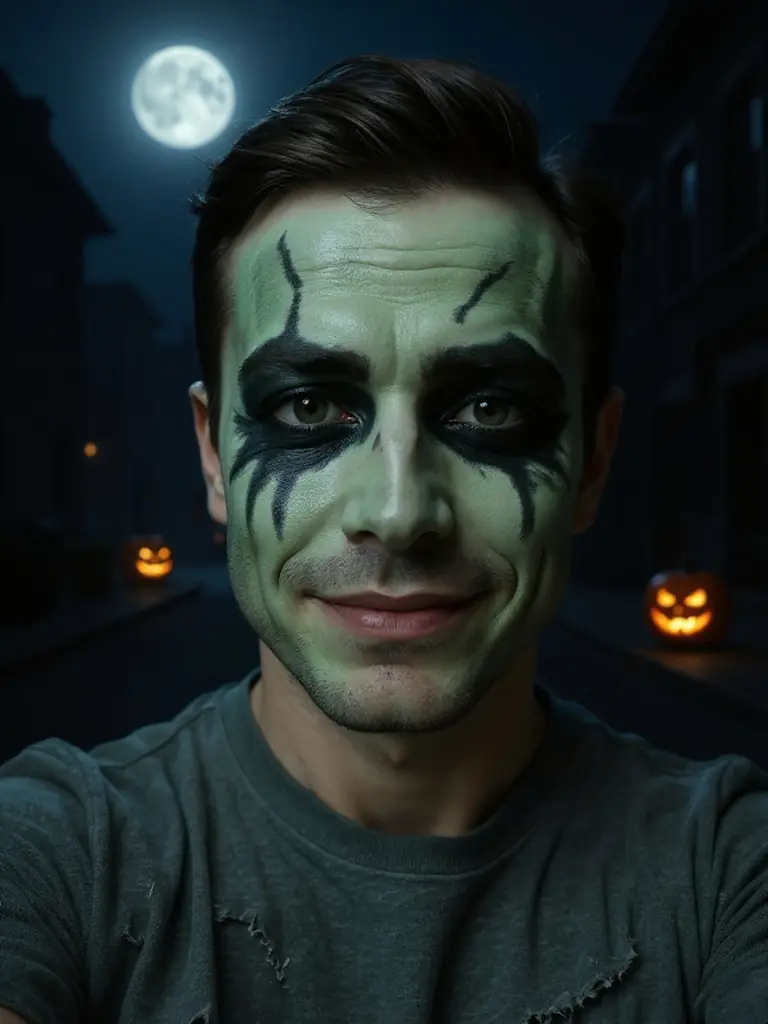
- Friendly zombie. Green skin, sunken eyes and no blood: good for family events (like the AI example above).
- Fresh zombie. Your natural skin tone, just slightly paler, with a single wound and red eyes.
- Decayed zombie. Strong grey-green base, more bruising and two or three wounds. Takes closer to an hour.
- Zombie bride or groom. Any of the above with old formal clothes, dirt and a wilted bouquet.
Common mistakes
- Even, flat color. Real-looking zombie skin is patchy. Stipple with a sponge instead of blending everything smooth.
- Tiny eye shadows. Take the dark color much further than you would for normal makeup, up to the brow bone and down the cheek.
- Thick wound layers. Thin layers of latex or glue dry faster and look more like skin than one thick blob.
- Blood everywhere. Put blood where a wound would bleed: the wound itself, the mouth, maybe the collar. Less looks more believable.
- Forgetting the neck and hands. A green face with normal hands breaks the effect in photos.
Try the zombie look on your selfie
Before you buy latex and fake blood, see how a zombie version of you could look. Spooky Portraits turns one selfie into a photorealistic, family-friendly zombie portrait in about 10 seconds, keeping your face shape and expression. The preview is free with a watermark; HD is USD $2.99, or USD $6.99 for all six styles. For a darker look, see the vampire makeup guide.
Frequently asked questions
How do you do easy zombie makeup with everyday makeup?
Use a pale foundation, purple-brown and grey eyeshadow for sunken eyes and cheeks, red shadow around the eyes and a purple pencil for veins. Fake blood and messy hair complete the look without special-effects products.
How do you make a fake wound without liquid latex?
Use a latex-free lash glue or a cosmetic scar wax instead, layered with single-ply tissue. Always patch-test first and never apply these products on broken or irritated skin.
How long does zombie makeup take?
About 30–45 minutes for this beginner version. Skipping the wound brings it down to about 20 minutes.
How do I remove liquid latex and fake blood?
Peel the latex slowly from the edges, using an oil-based cleanser or warm water to loosen it. Then remove the paint and fake blood with an oil cleanser or micellar water and wash your face as usual.
Can I preview a zombie version of my face?
Yes. Spooky Portraits creates a photorealistic, family-friendly zombie portrait from one selfie in about 10 seconds. The app is for adults 18+; the preview is free with a watermark.